


Making of MFH 1/12scale Fulldetail Kit : Day 8
This is the making guide of MFH 1/12scale Fulldetail Kit.
Making of MFH 1/12scale Fulldetail Kit :
<< Day 7
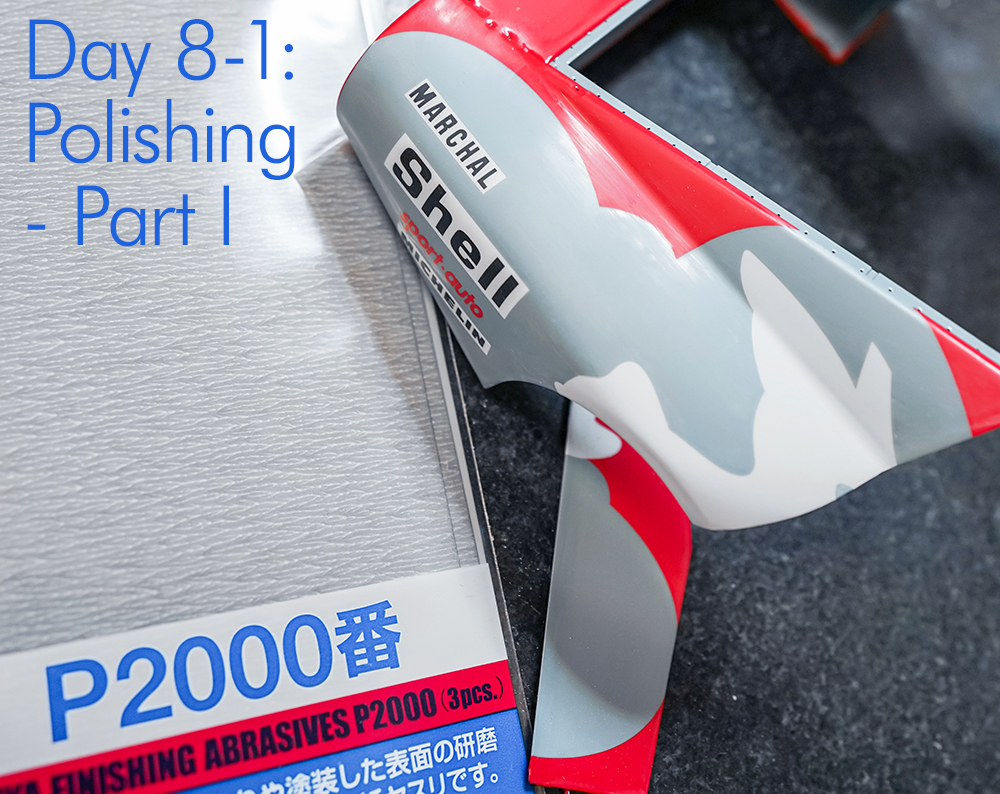
 Polishing isn’t necessary, but creates a nice overall shine on the bodywork. It is a rather challenging task and takes more time, so for beginners it is best to try it out on a smaller plastic model at first. Polishing will require a clear coat painted on top of the body colour/decals, and can only be done after the clear coat has completely dried out. See “Making : Day 6” for information regarding clear coat application.
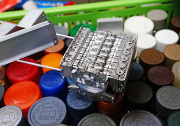
To begin, use 2000 grit sandpaper to remove any irregularities on the body, with focus on large, flatter areas. Be wary of shaving too much for corners and sharp edged areas where the clear coat may not be as thick. If the base coat colour starts showing on the sandpaper it’s a sign that you have gone too deep.
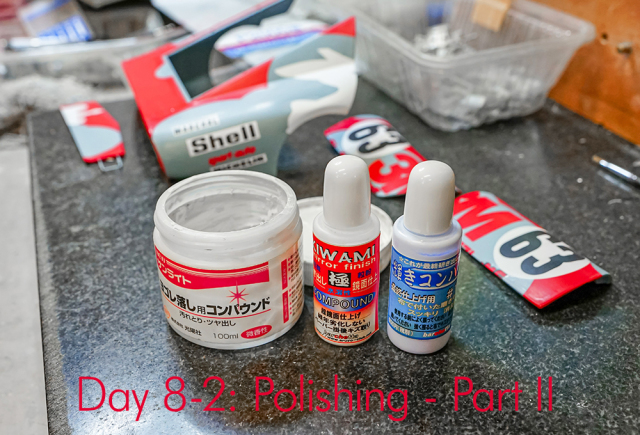 After using sandpaper to a certain degree, you can switch to compound for further polishing. Prepare two to three grades of polish ranging from heavy to fine. Start with heavy grade polish and work towards fine polish for a good shiny finish.
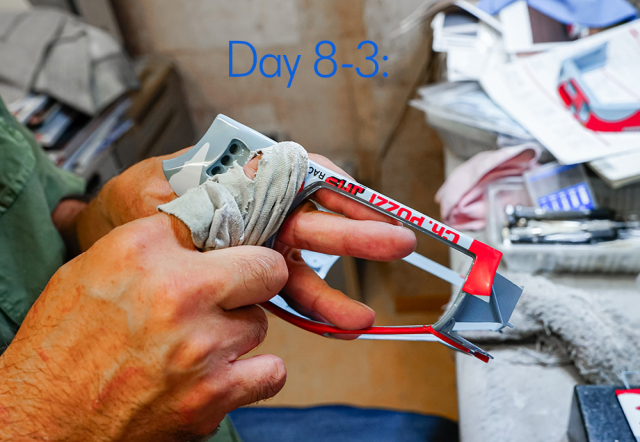 For instructions on how to use compound, follow the directions as noted on the product label. In general take a small amount with a soft towel and polish away at the body. Again, be wary of corners and sharp edges where clear coat may not be as thick. For small gaps or hard to reach areas a cotton swab can be used instead of a towel, but you can also ignore polishing these areas: the clear coat by itself should provide a good shine for these areas, and it will reduce the amount of work needed.
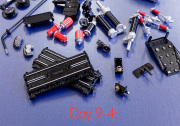
 After polishing clean off any shavings remaining on the body. Proceed to mask the body and paint the interior and window frames.
Making of MFH 1/12scale Fulldetail Kit :
<< Day 9
Making of MFH 1/12scale Fulldetail Kit :
<< Day 7
 Polishing isn’t necessary, but creates a nice overall shine on the bodywork. It is a rather challenging task and takes more time, so for beginners it is best to try it out on a smaller plastic model at first. Polishing will require a clear coat painted on top of the body colour/decals, and can only be done after the clear coat has completely dried out. See “Making : Day 6” for information regarding clear coat application.
To begin, use 2000 grit sandpaper to remove any irregularities on the body, with focus on large, flatter areas. Be wary of shaving too much for corners and sharp edged areas where the clear coat may not be as thick. If the base coat colour starts showing on the sandpaper it’s a sign that you have gone too deep.
 After using sandpaper to a certain degree, you can switch to compound for further polishing. Prepare two to three grades of polish ranging from heavy to fine. Start with heavy grade polish and work towards fine polish for a good shiny finish.
 For instructions on how to use compound, follow the directions as noted on the product label. In general take a small amount with a soft towel and polish away at the body. Again, be wary of corners and sharp edges where clear coat may not be as thick. For small gaps or hard to reach areas a cotton swab can be used instead of a towel, but you can also ignore polishing these areas: the clear coat by itself should provide a good shine for these areas, and it will reduce the amount of work needed.
 After polishing clean off any shavings remaining on the body. Proceed to mask the body and paint the interior and window frames.
Making of MFH 1/12scale Fulldetail Kit :
<< Day 9
MAKING
|
