

Making of MFH 1/12scale Fulldetail Kit : Day 7
This is the making guide of MFH 1/12scale Fulldetail Kit.
Making of MFH 1/12scale Fulldetail Kit :
<< Day 6
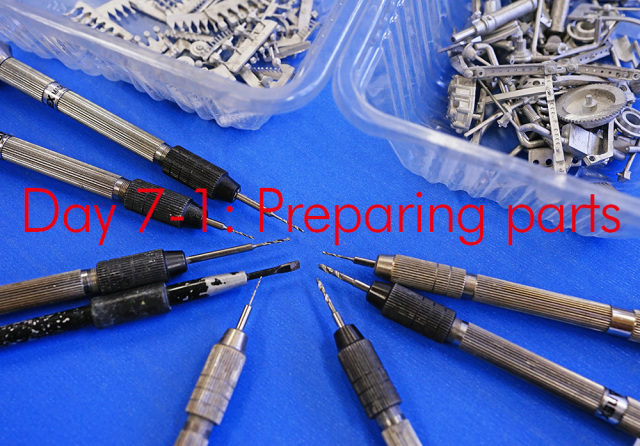 While waiting for the body to dry, other parts can be prepared at this point. Look carefully through the instruction booklet, and start matching and fitting parts together. Prepare various sizes of drill bits to open up holes in parts according to the size of the stud(s) on the partner part.
 Due to production methods, every part has a parting line and roughness that needs to be removed. Use a file or wire brush to fix these parts – the amount of work needed to be put on each part varies depending on whether the part should be coloured, can be seen, or just by personal preference. For parts that need to be polished, you may spend more time polishing the part using compound etc. to give it a better finish. However, for parts to be painted black or cannot be easily seen after the build is complete, can do with a slight amount of filing/wire brush work only. All parts can be fully polished for better presentation, but can take up a lot of time. For this build we have decided to put in more work for the visible parts only in order to shorten the build period. For a 1/12 kit where many parts are involved, this method will give more motivation to finish a build as opposed to having the project drag on endlessly.
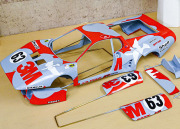
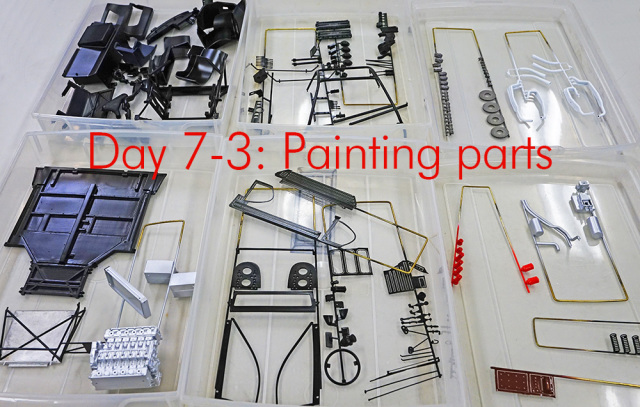 Here we split up parts based on what colour they are painted in. All parts (metal, resin, photoetch etc.) are prepared at the same so they can all be painted together at once. A base coat of metal primer is used on metal and etching parts, whereas a base coat of surfacer is used for resin parts. For bright colours such as red, orange, yellow etc. an extra base layer of white is used to make the colours stand out more. In general the parts are all given one coat of paint all at once.
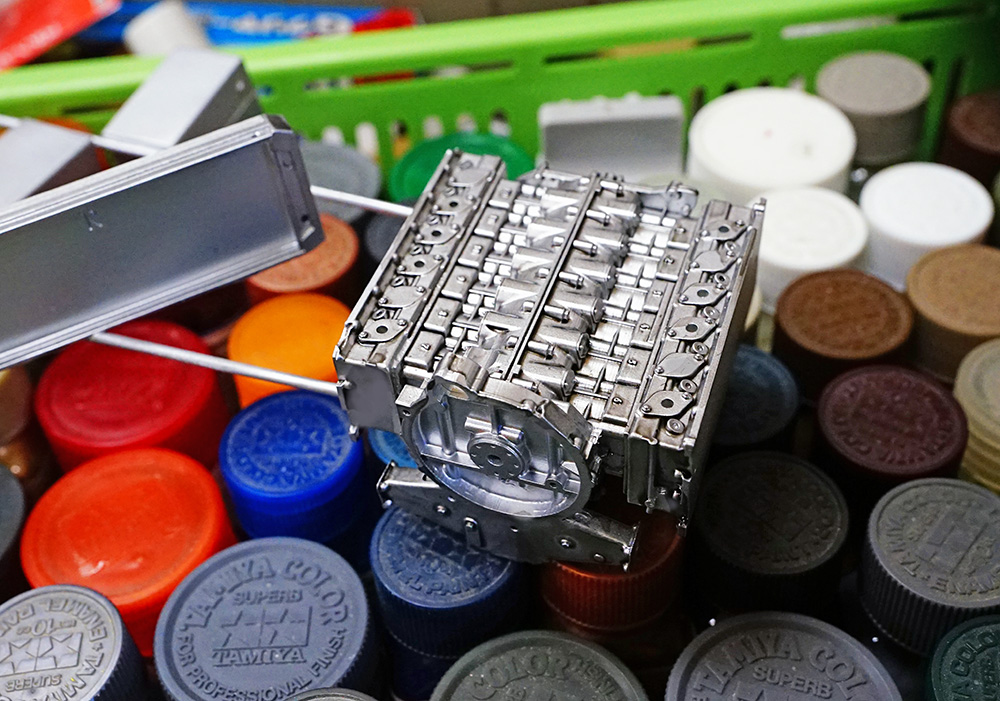
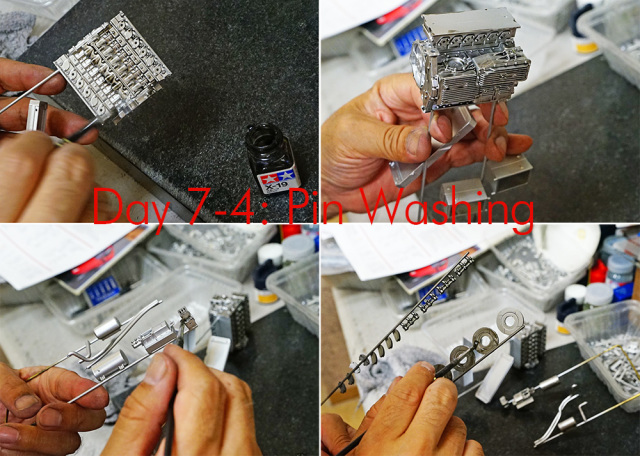 For silver/metalic colour parts, a pin wash will give parts a more realistic finish. We used Tamiya’s Enamel Paint X-19 Smoke for this process. While black is often used, it gives parts a very heavy “shadow” look that may make the final product look very messy. Smoke colour is much lighter and doesn’t darken up too much even if it builds up between deep grooves.
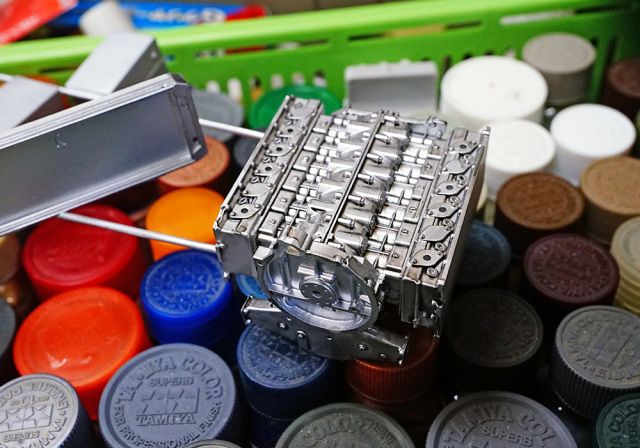 Smoke will give parts a very natural shaded look without the need to do extra work.
Making of MFH 1/12scale Fulldetail Kit :
<< Day 8
Making of MFH 1/12scale Fulldetail Kit :
<< Day 6
 While waiting for the body to dry, other parts can be prepared at this point. Look carefully through the instruction booklet, and start matching and fitting parts together. Prepare various sizes of drill bits to open up holes in parts according to the size of the stud(s) on the partner part.
 Due to production methods, every part has a parting line and roughness that needs to be removed. Use a file or wire brush to fix these parts – the amount of work needed to be put on each part varies depending on whether the part should be coloured, can be seen, or just by personal preference. For parts that need to be polished, you may spend more time polishing the part using compound etc. to give it a better finish. However, for parts to be painted black or cannot be easily seen after the build is complete, can do with a slight amount of filing/wire brush work only. All parts can be fully polished for better presentation, but can take up a lot of time. For this build we have decided to put in more work for the visible parts only in order to shorten the build period. For a 1/12 kit where many parts are involved, this method will give more motivation to finish a build as opposed to having the project drag on endlessly.
 Here we split up parts based on what colour they are painted in. All parts (metal, resin, photoetch etc.) are prepared at the same so they can all be painted together at once. A base coat of metal primer is used on metal and etching parts, whereas a base coat of surfacer is used for resin parts. For bright colours such as red, orange, yellow etc. an extra base layer of white is used to make the colours stand out more. In general the parts are all given one coat of paint all at once.
 For silver/metalic colour parts, a pin wash will give parts a more realistic finish. We used Tamiya’s Enamel Paint X-19 Smoke for this process. While black is often used, it gives parts a very heavy “shadow” look that may make the final product look very messy. Smoke colour is much lighter and doesn’t darken up too much even if it builds up between deep grooves.
 Smoke will give parts a very natural shaded look without the need to do extra work.
Making of MFH 1/12scale Fulldetail Kit :
<< Day 8
MAKING
|
