


MAKING 8 - 1/700scale Multi-Material Kit : Battleship YAMATO
"1/700scale Multi-Material Kit : 日本海軍 戦艦 大和"の製作メイキングをUPしていきます。
組み立て説明書の順番で進んでいきますので、組む際の参考にしてください。
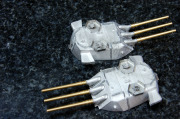
今回は甲板上構造物の組み立てです。
Continuing to the making of "1/700scale Multi-Material Kit : Battleship YAMATO".
You may reference to this “making of” article when you assembling the kit.
This update will be assembling structures to the deck.
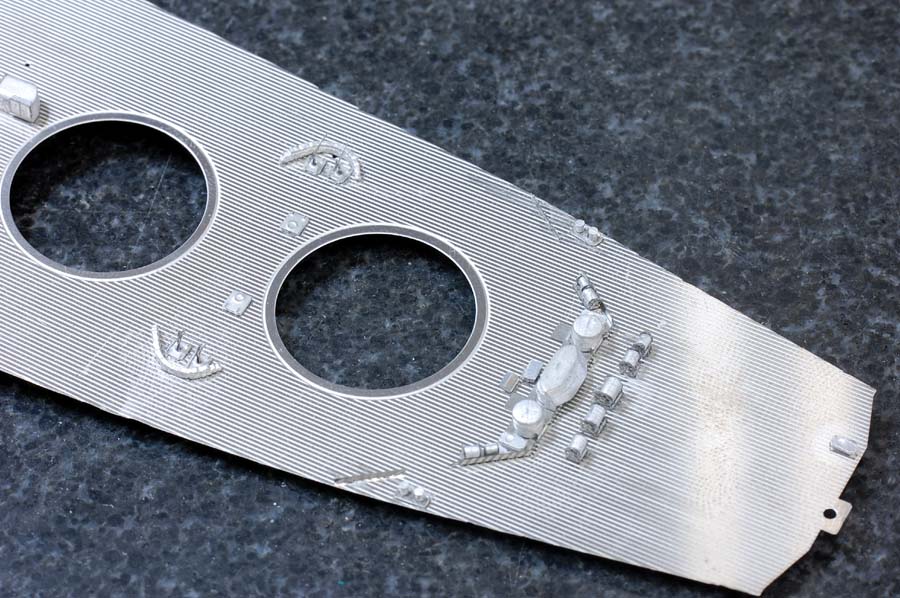
 甲板上構造物の組み立ては特に難しいところはありません。いままで説明してきた曲げと接着の基本を守っていただければ大丈夫だと思います。
ただ一点、甲板デカールを貼っていますので、その上にくるパーツは接着前に塗装しておく必要があります。ほかの部分のように組んでからグレーを全体に吹く、ということができないのでその点注意が必要です。
It is not so difficult to assemble structures to the deck. Use the techniques of bending and attaching that we have been used so far will be fine.
However, decals has been attached to the deck so you must finish any painting and colouring before. It is not similar to the rest of the kit that can do colouring after assembling.
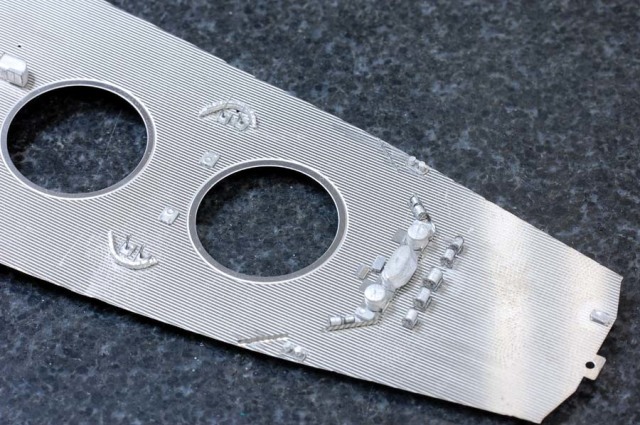
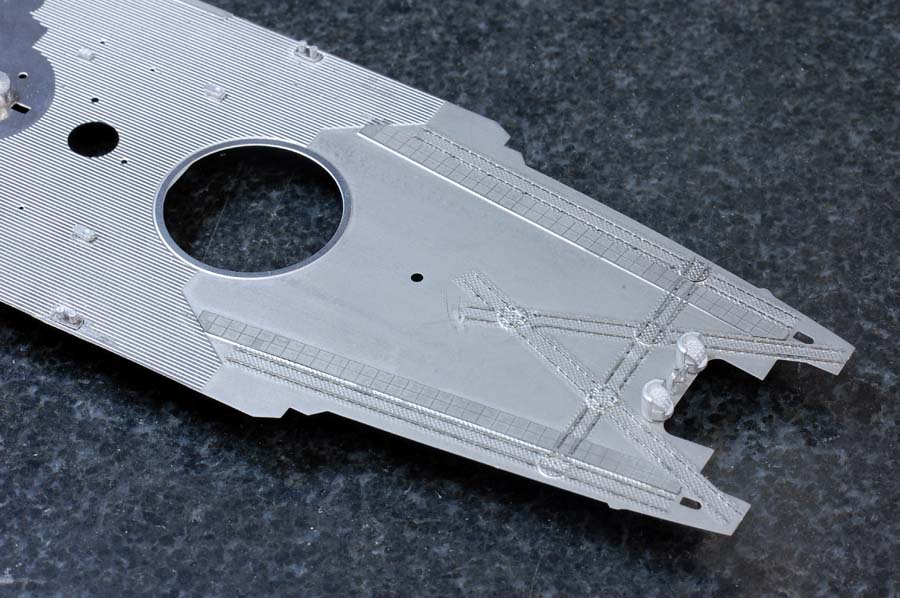
 後部甲板のレールは接着面が狭いので、注意深くゼリー状瞬間接着剤を少しずつ点付けしていってください。
この写真はメイキング用なのでありませんが、もちろん説明書通り歩行帯デカールを貼った上に塗装済みのレールを貼っていく、という順番になります。
The attaching point rails at the rear deck is small. Pay attention when using jelly type adhesives, placing little by little adhesives when attaching the rails.
(this picture is not following the making process, but it is finished by following the instructions from the manual.)
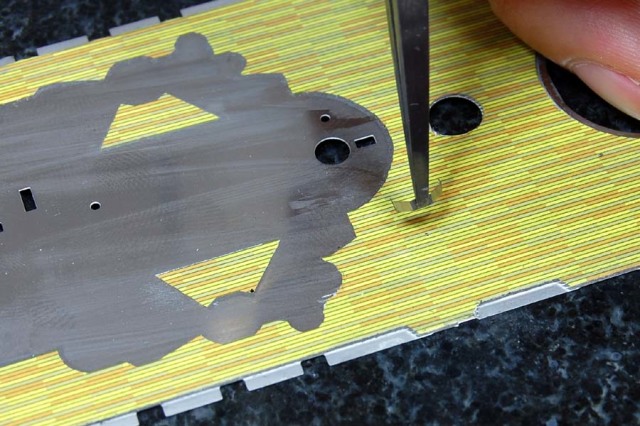
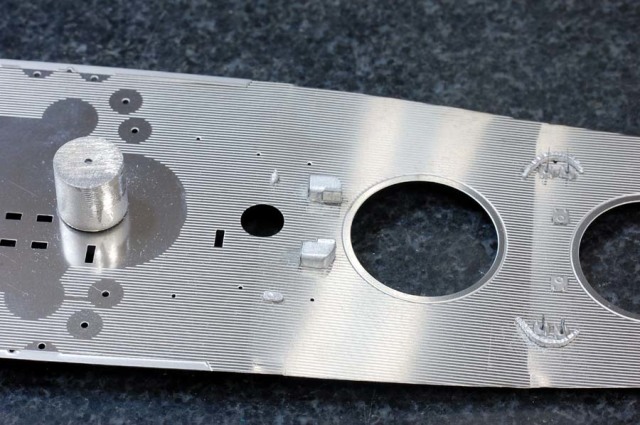
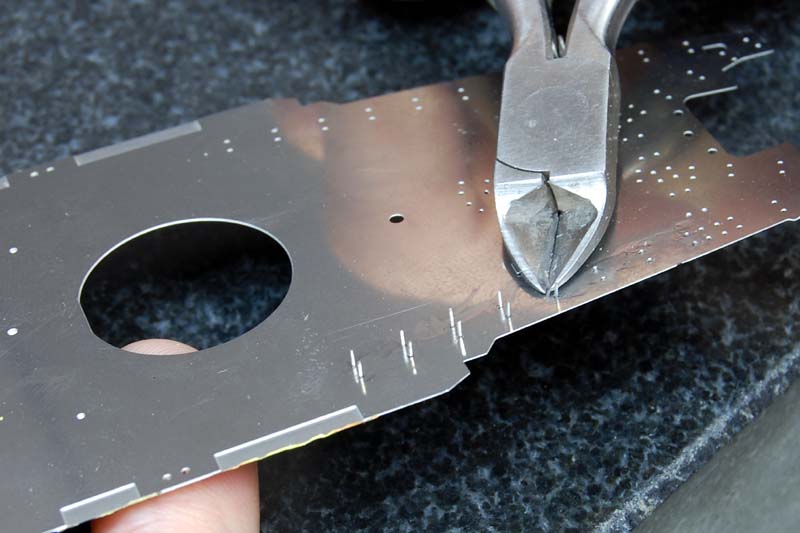
 上部構造物を設置すると甲板裏面にゲートやダボが飛び出した状態になりますので、ニッパー等で切り取ってください。
続きます。
Use nipper to remove the excess part from the bottom of the deck.
To be continued. . .
MAKING 9 - 1/700scale Multi-Material Kit : Battleship YAMATO
組み立て説明書の順番で進んでいきますので、組む際の参考にしてください。
今回は甲板上構造物の組み立てです。
Continuing to the making of "1/700scale Multi-Material Kit : Battleship YAMATO".
You may reference to this “making of” article when you assembling the kit.
This update will be assembling structures to the deck.
 甲板上構造物の組み立ては特に難しいところはありません。いままで説明してきた曲げと接着の基本を守っていただければ大丈夫だと思います。
ただ一点、甲板デカールを貼っていますので、その上にくるパーツは接着前に塗装しておく必要があります。ほかの部分のように組んでからグレーを全体に吹く、ということができないのでその点注意が必要です。
It is not so difficult to assemble structures to the deck. Use the techniques of bending and attaching that we have been used so far will be fine.
However, decals has been attached to the deck so you must finish any painting and colouring before. It is not similar to the rest of the kit that can do colouring after assembling.

 後部甲板のレールは接着面が狭いので、注意深くゼリー状瞬間接着剤を少しずつ点付けしていってください。
この写真はメイキング用なのでありませんが、もちろん説明書通り歩行帯デカールを貼った上に塗装済みのレールを貼っていく、という順番になります。
The attaching point rails at the rear deck is small. Pay attention when using jelly type adhesives, placing little by little adhesives when attaching the rails.
(this picture is not following the making process, but it is finished by following the instructions from the manual.)
 上部構造物を設置すると甲板裏面にゲートやダボが飛び出した状態になりますので、ニッパー等で切り取ってください。
続きます。
Use nipper to remove the excess part from the bottom of the deck.
To be continued. . .
MAKING 9 - 1/700scale Multi-Material Kit : Battleship YAMATO
MAKING
|
