

MAKING 6 - 1/700scale Multi-Material Kit : Battleship YAMATO
"1/700scale Multi-Material Kit : 日本海軍 戦艦 大和"の製作メイキングをUPしていきます。
組み立て説明書の順番で進んでいきますので、組む際の参考にしてください。
今回は後部甲板の側面と船首甲板の組み立てです。
Continuing to the making of "1/700scale Multi-Material Kit : Battleship YAMATO".
You may reference to this “making of” article when you assembling the kit.
This update will be assembling the side of the rear deck and the front deck.
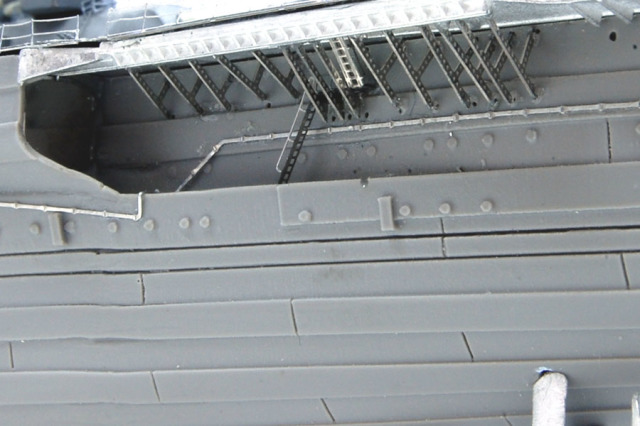
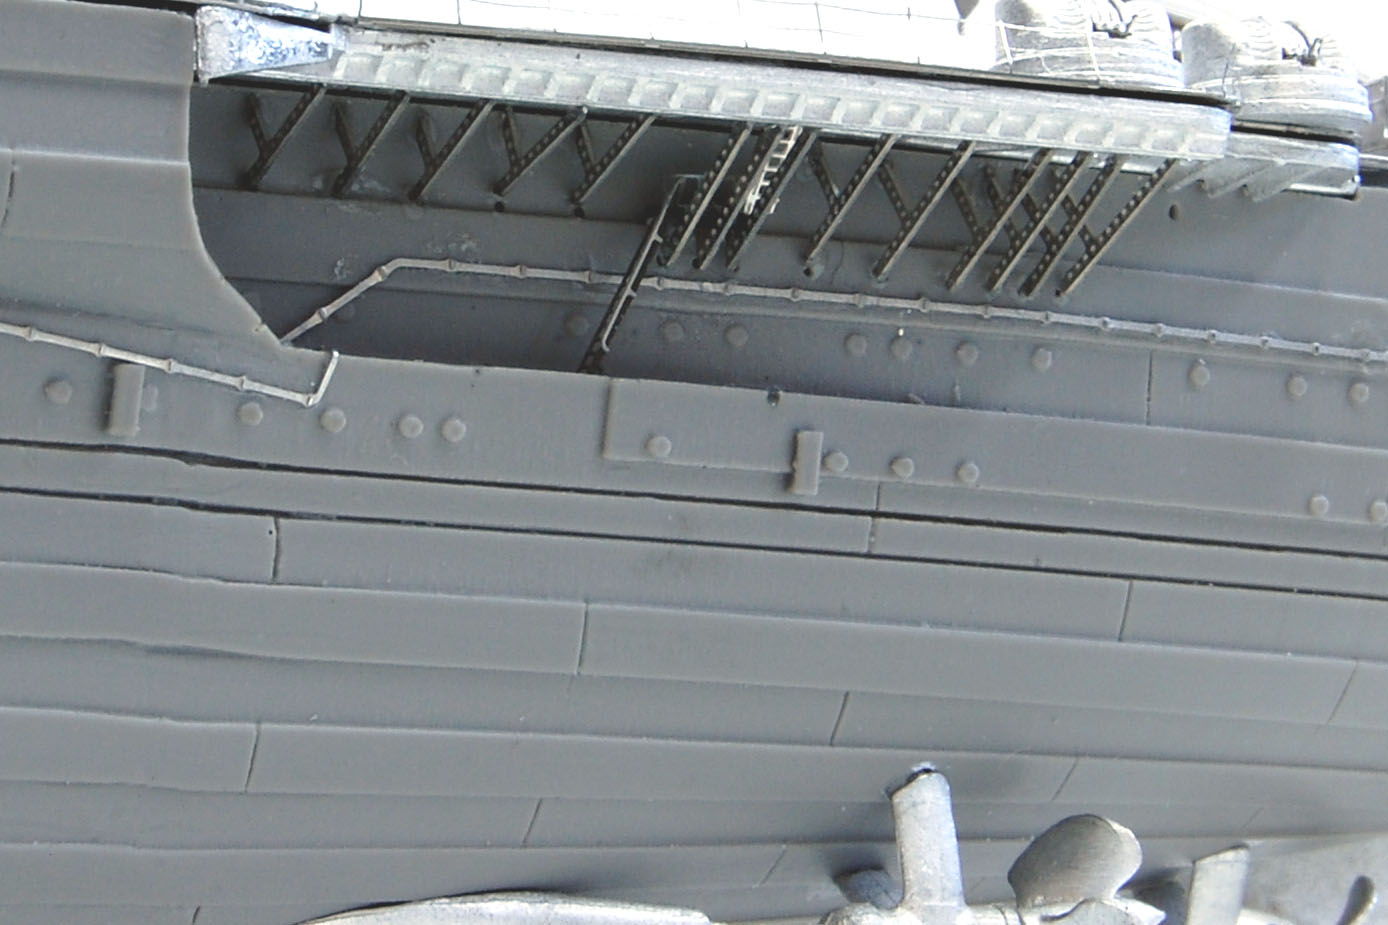
 後部甲板の側面はエッチングが繊細なので注意してください。順番としては、階段を組んで先に船体に接着し、そのあと斜めトラス材を接着していきます。
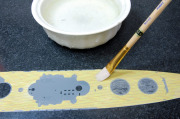
接着には今まで説明してきたのと同じように、ゼリー状瞬着を点付けで接着していきます。
Please handle the photo etch of the rear deck with extra care, they are too thin and easily to be broken.
Attach the staircase and then following with the truss structures.
Use jelly type instant adhesives to attach the photo etch.
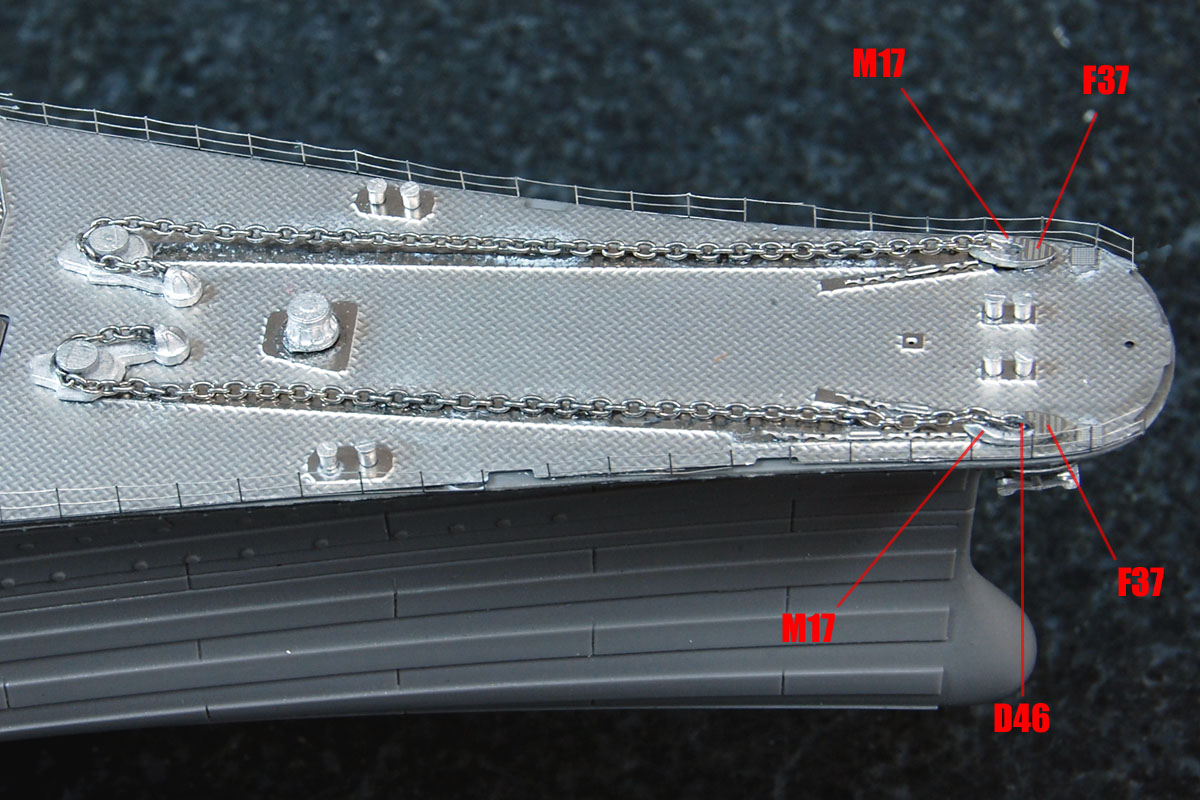
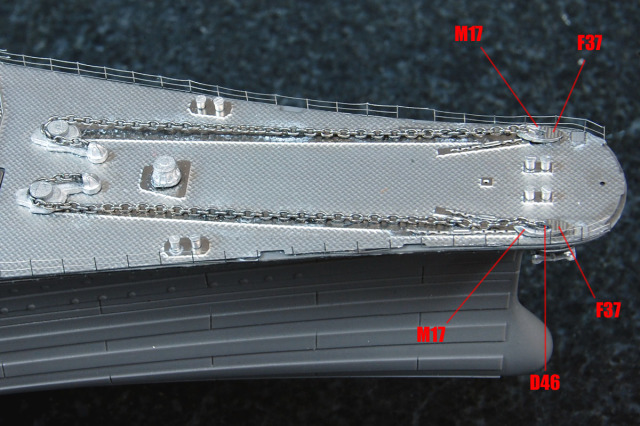 船首甲板の注意点としては説明書に明記していますが、金属チェーンの基部の組み立てについてです。
チェーンの先端を引っ掛ける”ク”の字のエッチングD46、これをメタルパーツM17に挿します。その際、挿すポイントをM17のちょうど中心にピンバイスで穴を開けてください。大きくずれるとエッチングF37を貼る位置もずれてしまうのでこの点ご注意ください。
続きます。
The front deck photo etch parts should be not causing any problems if you are following the instruction manual. We will be talking more about the chain and the related parts.
First insert the hook like D46 to the metal parts M17. You need to drill a hole to M17 in order to insert the D46 part.
Do not drill the hole too large and this will be affecting you to attach F37 photo etch.
To be continued. . .
MAKING 7 - 1/700scale Multi-Material Kit : Battleship YAMATO
組み立て説明書の順番で進んでいきますので、組む際の参考にしてください。
今回は後部甲板の側面と船首甲板の組み立てです。
Continuing to the making of "1/700scale Multi-Material Kit : Battleship YAMATO".
You may reference to this “making of” article when you assembling the kit.
This update will be assembling the side of the rear deck and the front deck.

 後部甲板の側面はエッチングが繊細なので注意してください。順番としては、階段を組んで先に船体に接着し、そのあと斜めトラス材を接着していきます。
接着には今まで説明してきたのと同じように、ゼリー状瞬着を点付けで接着していきます。
Please handle the photo etch of the rear deck with extra care, they are too thin and easily to be broken.
Attach the staircase and then following with the truss structures.
Use jelly type instant adhesives to attach the photo etch.
 船首甲板の注意点としては説明書に明記していますが、金属チェーンの基部の組み立てについてです。
チェーンの先端を引っ掛ける”ク”の字のエッチングD46、これをメタルパーツM17に挿します。その際、挿すポイントをM17のちょうど中心にピンバイスで穴を開けてください。大きくずれるとエッチングF37を貼る位置もずれてしまうのでこの点ご注意ください。
続きます。
The front deck photo etch parts should be not causing any problems if you are following the instruction manual. We will be talking more about the chain and the related parts.
First insert the hook like D46 to the metal parts M17. You need to drill a hole to M17 in order to insert the D46 part.
Do not drill the hole too large and this will be affecting you to attach F37 photo etch.
To be continued. . .
MAKING 7 - 1/700scale Multi-Material Kit : Battleship YAMATO
MAKING
|
