


MAKING 5 - 1/700scale Multi-Material Kit : Battleship YAMATO
"1/700scale Multi-Material Kit : 日本海軍 戦艦 大和"の製作メイキングをUPしていきます。
組み立て説明書の順番で進んでいきますので、組む際の参考にしてください。
メイキング五回目です。
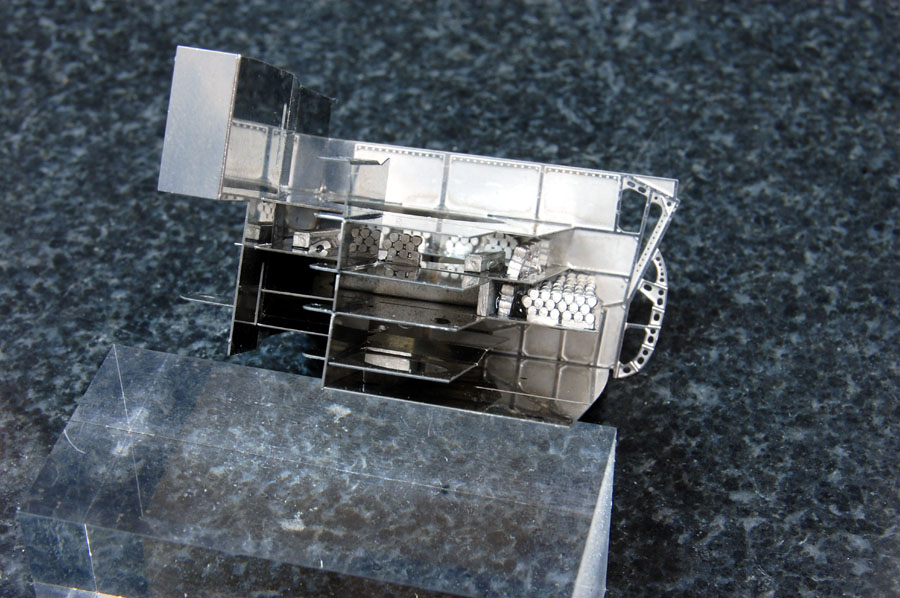
内部構造の続きですが、基本的に前回までのユニットと同じような組み立て工程になります。第三のユニットは弾薬格納庫です。
Continuing to the making of "1/700scale Multi-Material Kit : Battleship YAMATO".
You may reference to this “making of” article when you assembling the kit.
The fifth update wil be making the third internal construction, which will be the ammo room.
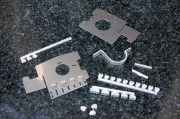

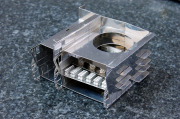

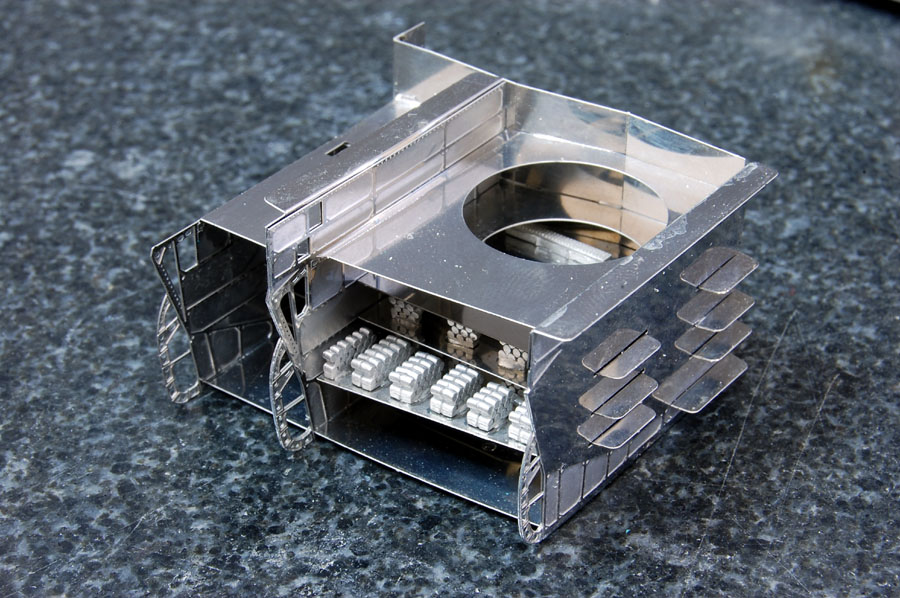
ここまでの4つのユニットを船体にネジ留めして、ひとまず中央内部構造の完成です!
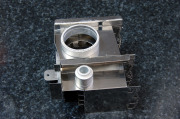
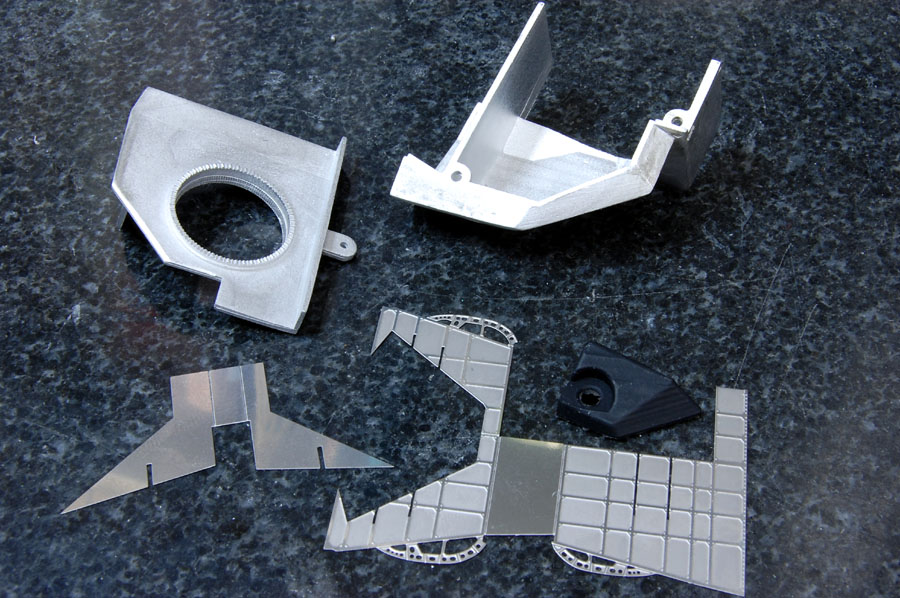
続いて、後部格納庫の組み立てです。
Fix the four units with the screws and the internal construction is finished!
And then we will continue to the rear hanger.
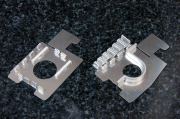
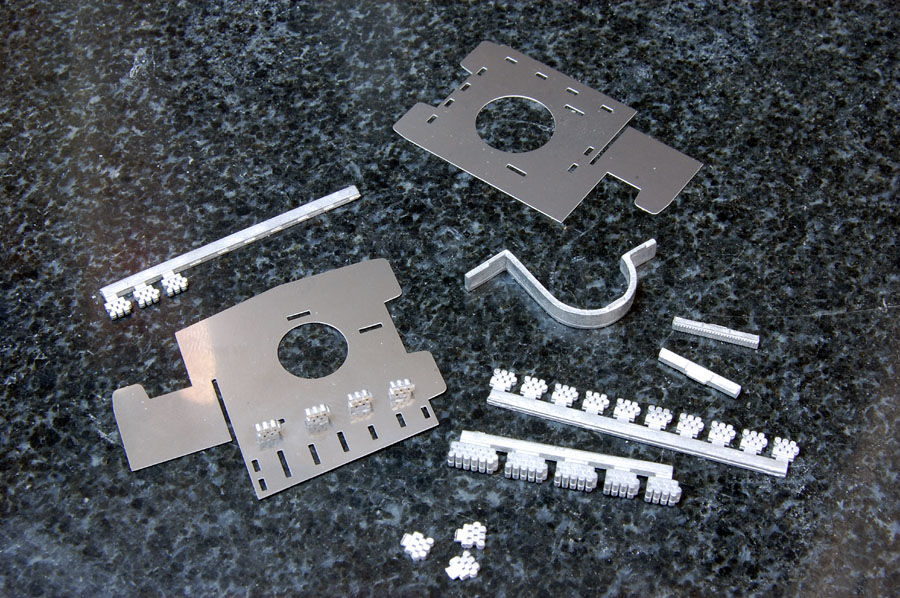
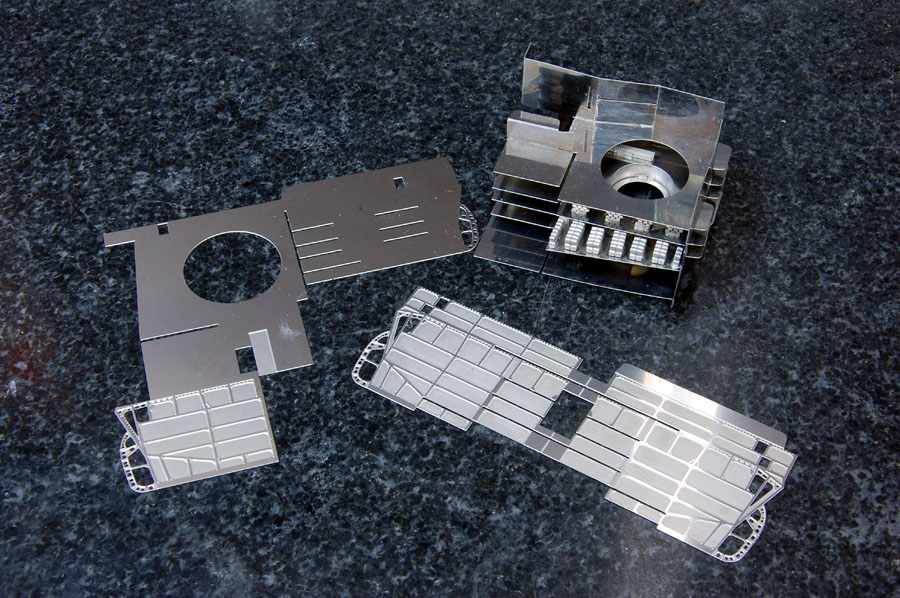
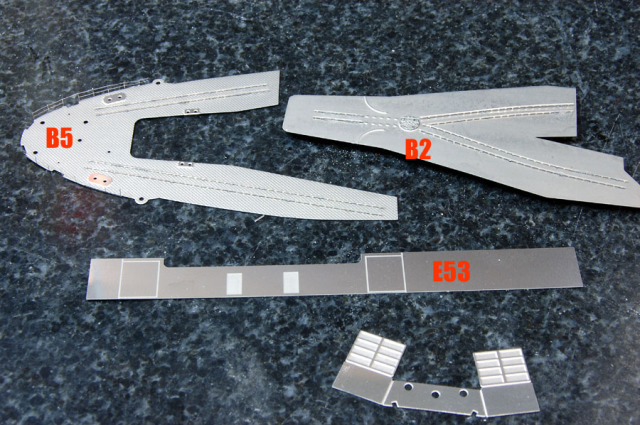 E53のエッチングは、説明書に明記されている折り曲げガイドラインに沿って曲げていけばいいのですが、曲面もあるので少し難しいところではあります。
The photo etch parts E53 needs to be bent as the manual said, however, not only following to the lines marked to the parts and also please pay attention to the curves.
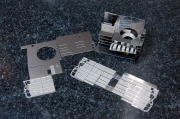
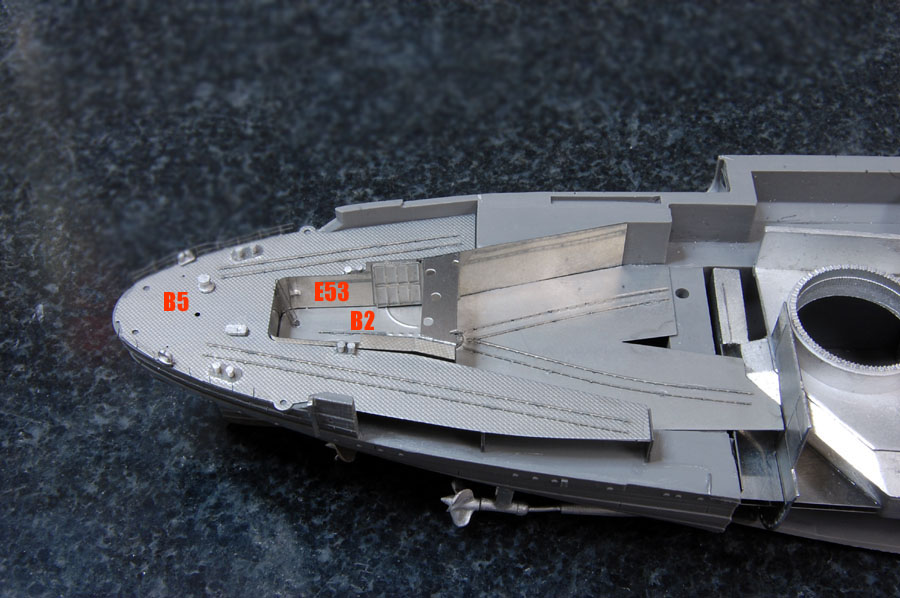
 そこで、E53を曲げる際はB2とB5のエッチング板をガイドにすると正確に曲げることができます。
説明書のラインに沿って大まかに曲げたE53を、B2の該当部分に当てて曲げていきます。B2は厚みがあるので、E53のガイドとして使えると思います。
そしてB5にもはめてみて隙間無く曲げられているかチェックし、船体に仮組みしてみます。
When you are bending E53, you may use B2 and B5 as the guide, so you can bend the correct curves easier.
Because B2 is thick enough you may follow the shape of B2 to bend E53 and also following the lines as the manual instructed.
Then temporary assemble to see if B5 can fit perfectly to the shape you bent.
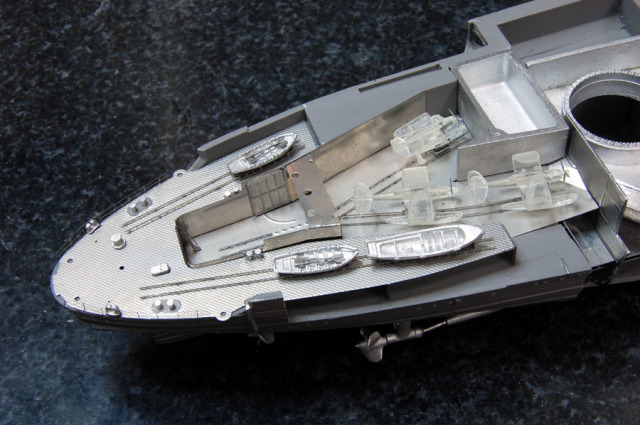
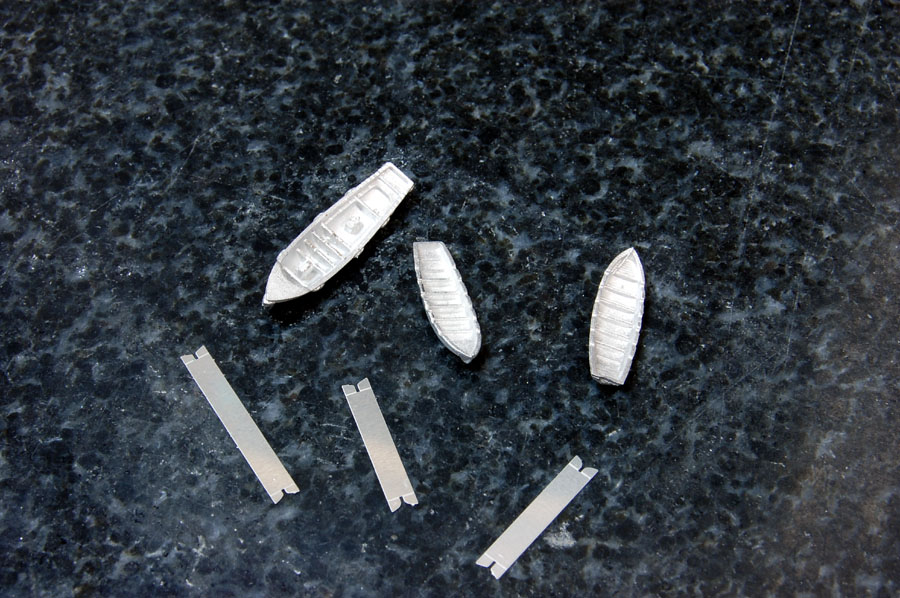
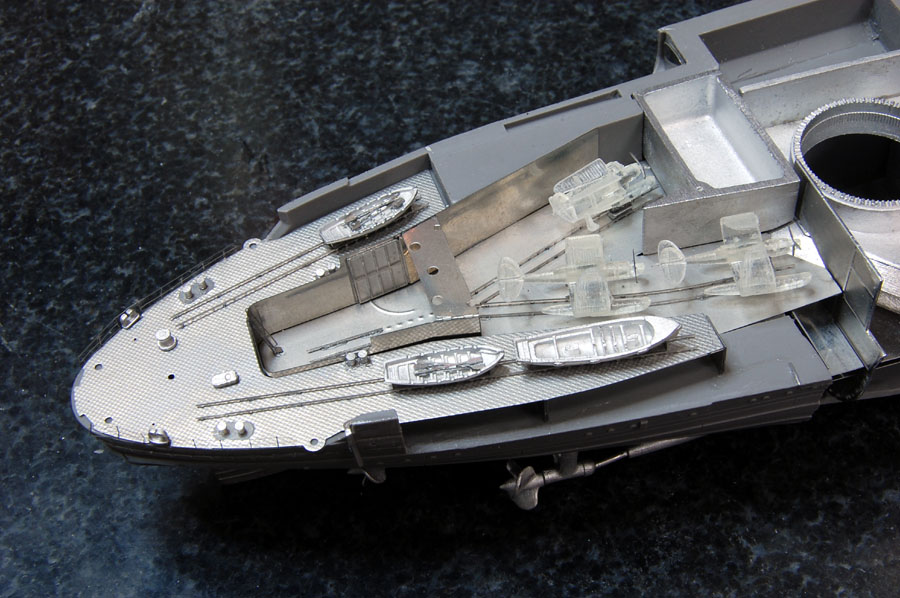
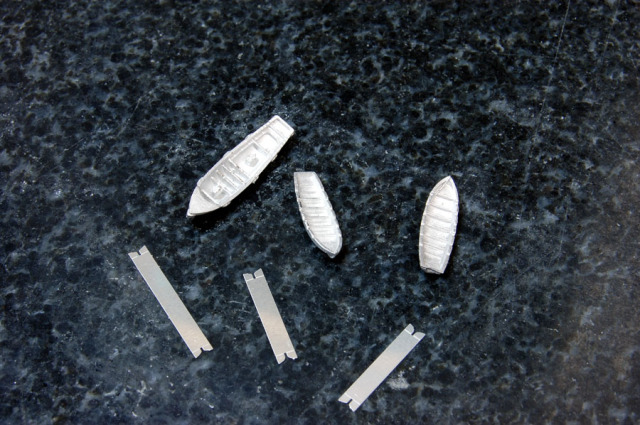 ボート。
ボート。
Lifeboats.
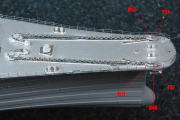
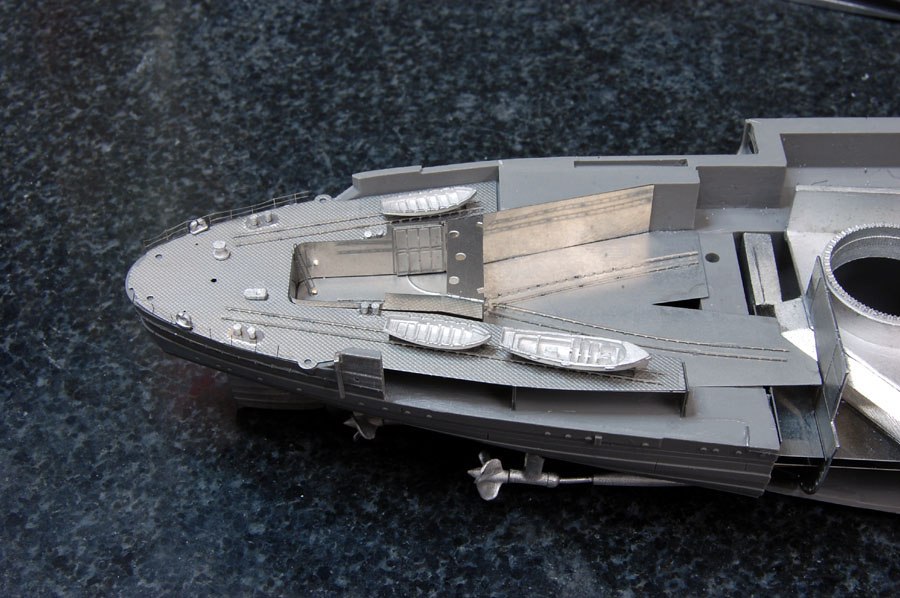
 甲板面のレールはゼリー状の瞬間接着剤の点付けで。つけすぎると汚くなるので、楊枝やカッターナイフの先端に接着剤をほんの少しすくって付けていきます。
Attach the rails to the deck with jelly type instant adhesives. Beware of the adhesives to be splitting out. You may use toothpicks or the tip of the cutter knife to apply the adhesives little by little.
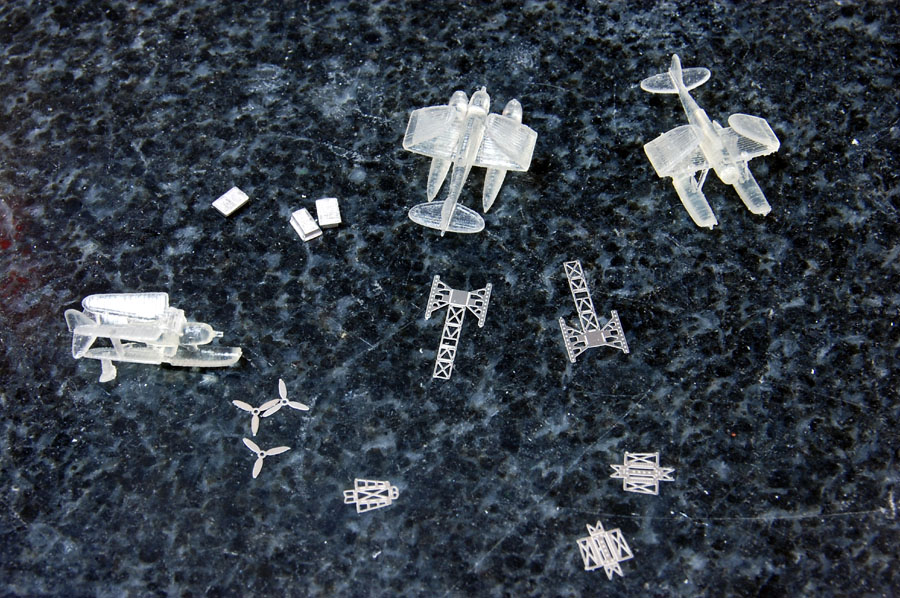
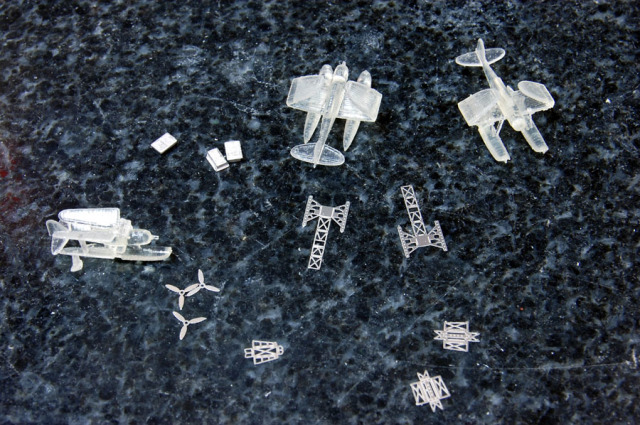 艦載機は、プロペラとスピナーパーツが細く小さいので曲げたり失くしたりしないようご注意ください。
The propeller and spinners parts of the fighters are too tiny so please pay attention not to bend it or lose it carelessly.
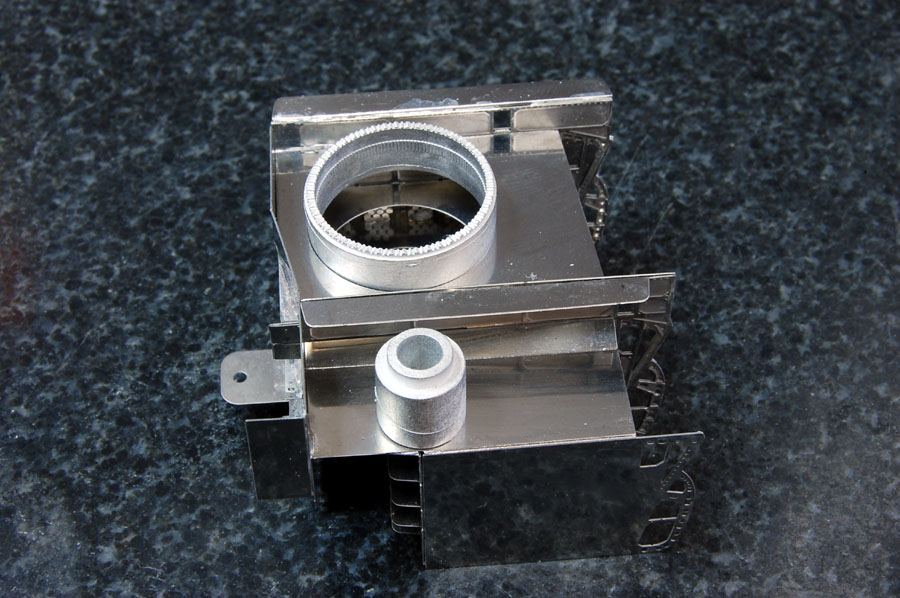
 という訳で、格納庫の完成です。
続きます。
The hanger is finished.
To be continued. . .
MAKING 6 - 1/700scale Multi-Material Kit : Battleship YAMATO
組み立て説明書の順番で進んでいきますので、組む際の参考にしてください。
メイキング五回目です。
内部構造の続きですが、基本的に前回までのユニットと同じような組み立て工程になります。第三のユニットは弾薬格納庫です。
Continuing to the making of "1/700scale Multi-Material Kit : Battleship YAMATO".
You may reference to this “making of” article when you assembling the kit.
The fifth update wil be making the third internal construction, which will be the ammo room.

ここまでの4つのユニットを船体にネジ留めして、ひとまず中央内部構造の完成です!
続いて、後部格納庫の組み立てです。
Fix the four units with the screws and the internal construction is finished!
And then we will continue to the rear hanger.
 E53のエッチングは、説明書に明記されている折り曲げガイドラインに沿って曲げていけばいいのですが、曲面もあるので少し難しいところではあります。
The photo etch parts E53 needs to be bent as the manual said, however, not only following to the lines marked to the parts and also please pay attention to the curves.
 そこで、E53を曲げる際はB2とB5のエッチング板をガイドにすると正確に曲げることができます。
説明書のラインに沿って大まかに曲げたE53を、B2の該当部分に当てて曲げていきます。B2は厚みがあるので、E53のガイドとして使えると思います。
そしてB5にもはめてみて隙間無く曲げられているかチェックし、船体に仮組みしてみます。
When you are bending E53, you may use B2 and B5 as the guide, so you can bend the correct curves easier.
Because B2 is thick enough you may follow the shape of B2 to bend E53 and also following the lines as the manual instructed.
Then temporary assemble to see if B5 can fit perfectly to the shape you bent.
 ボート。
ボート。Lifeboats.
 甲板面のレールはゼリー状の瞬間接着剤の点付けで。つけすぎると汚くなるので、楊枝やカッターナイフの先端に接着剤をほんの少しすくって付けていきます。
Attach the rails to the deck with jelly type instant adhesives. Beware of the adhesives to be splitting out. You may use toothpicks or the tip of the cutter knife to apply the adhesives little by little.
 艦載機は、プロペラとスピナーパーツが細く小さいので曲げたり失くしたりしないようご注意ください。
The propeller and spinners parts of the fighters are too tiny so please pay attention not to bend it or lose it carelessly.
 という訳で、格納庫の完成です。
続きます。
The hanger is finished.
To be continued. . .
MAKING 6 - 1/700scale Multi-Material Kit : Battleship YAMATO
MAKING
|
